
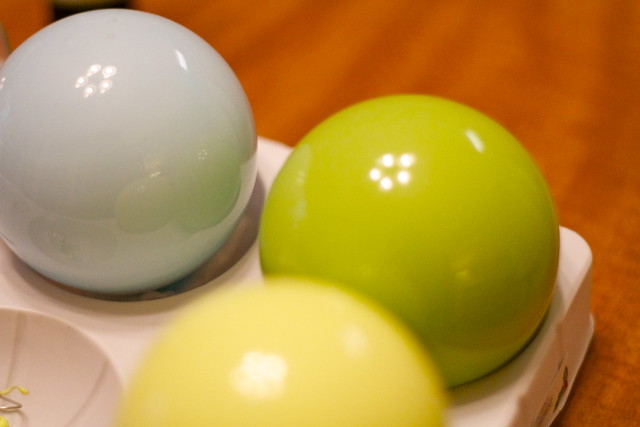
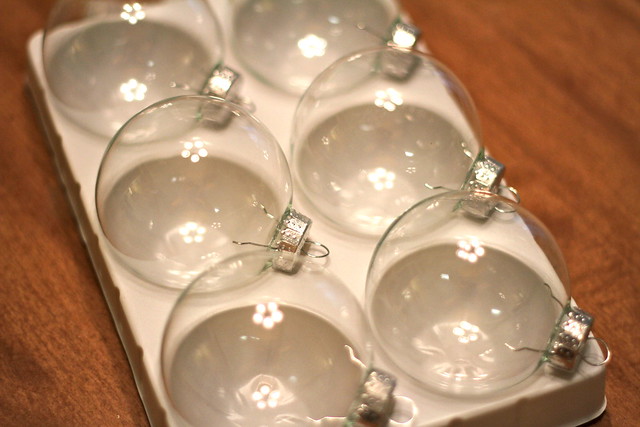
I blogged about wanting to paint my own ornaments based on a DIY I pinned. The colors were irresistable, so I went to Michael's to get supplies. The clear ornaments were half off, so I scored a ton for less than $10. I bought large and medium-sized ornaments.
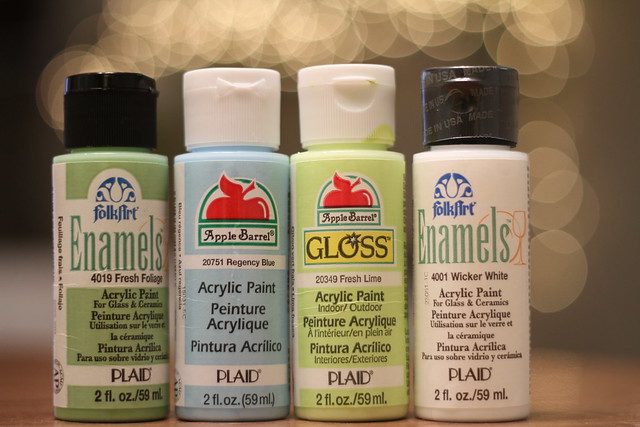
The paint was on sale for $.79. I wasn't sure which type would work best, so I bought enamel acrylic, regular acrylic and gloss acrylic. The enamel acrylic was the thickest, requiring the most paint per ornament in order to spread, but it also provided the best coverage. The plain and gloss paints were thin, which helped because they were easier to spread through the ornament, but they also took longer to dry and some turned out streaky if I didn't work quickly and let them dry completely.
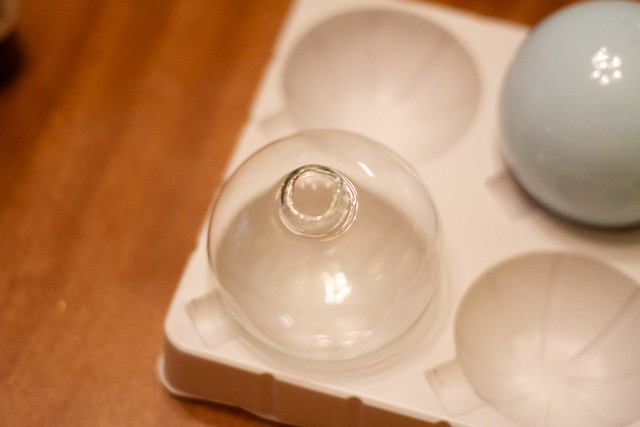
This project is so easy. Take the ornament cap off and squeeze a generous amount of paint into the ornament.
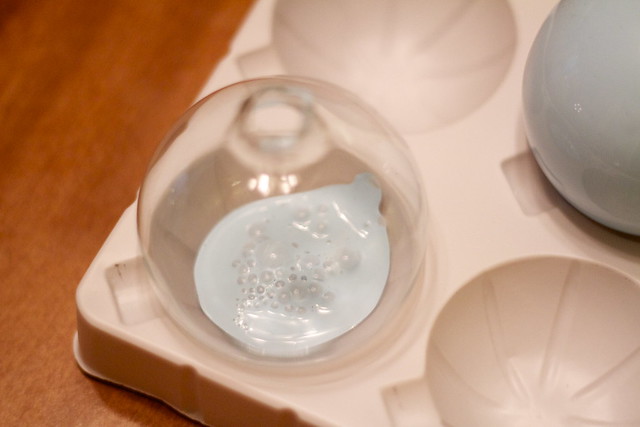
Then, I wrapped my thumb with a paper towel to cover the hole and shook, shook, shook until the paint covered the entire ornament.
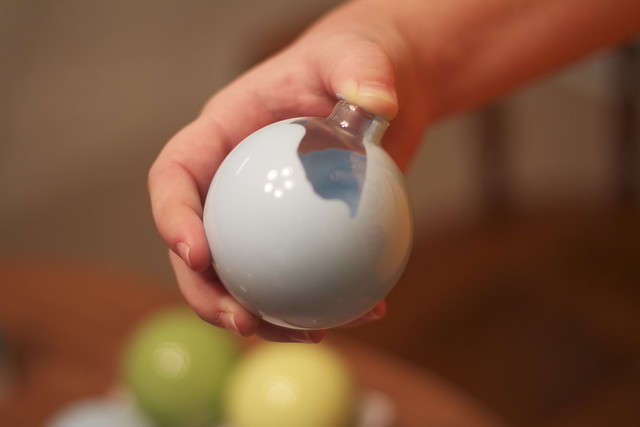
Like I said earlier, it took a lot of shaking, especially for the enamel painted ornaments. A good forearm workout.
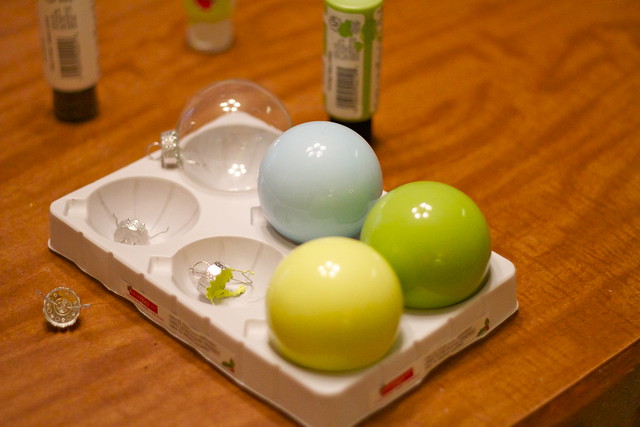
Then, turn the ornament upside down and let it dry. Excess paint will drip out of the cap. I let most of mine dry overnight, but for the last batch, I was impatient and only set them to dry for an hour or so. Put the cap hook back on the ornaments, and, voila, the ornaments are good to go.
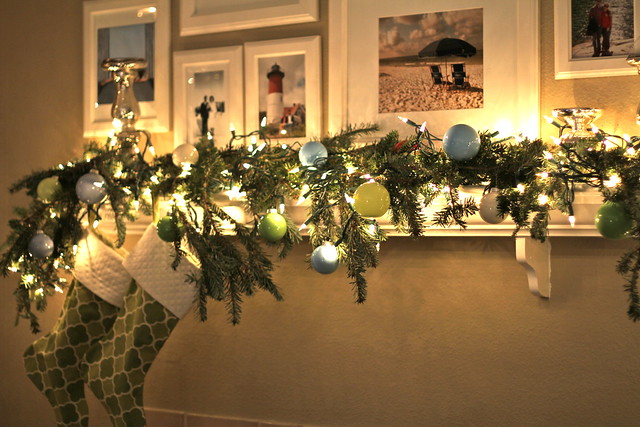
Verdict: super easy and they turned out well. A+.
1 comment:
What a fun project! I especially love the green ones!
Post a Comment